DIY Branding & Website Design: Part 1 BRANDING
Affiliate Disclaimer
This blog post contains some of my favorite tools and resources. Some of these links are affiliate links, meaning I earn an affiliate commission if you decide to purchase (*indicates affiliate links). However, I recommend these tools and resources no matter what.
I re-branded and re-did my website a few months ago. Did you notice? I did and I’ll admit I’m proud of the result, but honestly I’m a bit more proud of what I learned in the process.
Of course, if you have the resources, just as it’s worthwhile to our clients to invest in an interior designer, I definitely recommend investing in a pro for your branding and website design if you can. But the reality is that not everyone can afford a professional. There are some excellent tools out there that can help you do-it-yourself when you need to.
So what are the key lessons I learned?
Here’s a rundown.
- You must have a pretty specific plan
- It always helps to get some guidance
- It always helps to get a second opinion
- Be organised in developing your content
Because I wish I had a more detailed plan of attack when I started, I wanted to share my step by step process with you all, too.
It ended up being a big ole list, so I’ve broken it up. Below you’ll find Part 1, all focused on the branding side of the re-design.
PART 1: Branding
First, I needed to get much clearer on my branding. My old brand had started feel a bit dated and just didn’t feel like me anymore. I was using bright, spring colors. I had quite a few inconsistencies in how I was approaching graphics and imagery, so I really needed a revamp.
This is when I took a Skillshare* class on branding, called Start Your Creative Career: Build a Sharp, Smart Online Presence, delivered by Sonja Rasula. I can’t recommend this class enough, it was less than an hour, and it gave me a lot to think about including an example ‘Brand Bible’ that I used to construct my own, where I’m never having to think tOo hard to present myself online.
Hey, do you you have Skillshare? I’m always finding courses to take or new skills to try on Skillshare. They also have a VERY generous 2 month trial. I highly recommend you give it a try. Here’s my link for signing up with Skillshare. I am an affiliate meaning I get a small commission if one of my readers signs up, but I’m a happy paying subscriber myself, so I’d recommend it no matter what. My favorite classes so far have been: How to Organise your Workflow to Maximise Productivity by Ali Abdaal, Email Productivity: Work Smarter with Your Inbox by Alexandra Samuel, and Procreate for Beginners by Cat Coquillette.
Hey, do you you have Skillshare?
I’m always finding courses to take or new skills to try on Skillshare. They also have a great month-long trial. I highly recommend you give it a try. Here’s my link* for signing up with Skillshare. I am an affiliate meaning I get a small commission if one of my readers signs up, but I’m a happy paying subscriber myself, so I’d recommend it no matter what. My favorite classes so far have been: How to Organise your Workflow to Maximise Productivity by Ali Abdaal, Email Productivity: Work Smarter with Your Inbox by Alexandra Samuel, and Procreate for Beginners by Cat Coquillette.
So what does my Brand Bible look like?
Well first, I wanted to make a mood board to describe how I’m trying to present myself and this business to other people. Just as we make mood board for interior design projects, having a mood board gave me a really clear idea of the image I wanted to portray.

I chose images that helped capture the mood, textures, color palette, and vibe I was going for. I used images from Unsplash.com which is always my go-to when it comes to finding free images for mood boards.
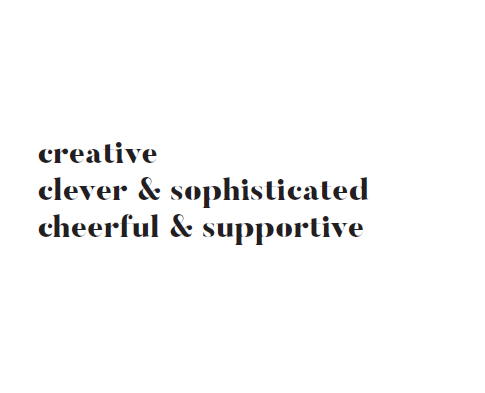
Next, I identified a few key words that I aspire to define my brand with. This took a little thinking, but it was worth limiting to just 5 words in the end, as that means I’ll always have a quick reference to remind myself of who I want to be professionally.
Now that I had the more conceptual aspects of the new brand defined, I needed to go in and determine a few specifices. First, I looked at developing a color palette. I needed it to be more reflective of this more refined brand position. I honestly used Photoshop to pick colors from my mood board, and then adjusted them to make a palette that worked together.
This is what I came up with. The big colours are my bold attention grabbing colors, the middle row represents the more general palette of colors I’m using, and the bottom row is the dark colors when I need something a bit more specific than a basic black or dark grey.

Then I had to think about typography and the font styles I wanted to use.
I’m still using the Butler font for my logos, as it’s the one that I really resonate with (Everyone resonates with fonts, right? It’s not just me… right?).
But for other fonts, I was sticking to Source Sans Pro in a light weight, Playfair Display for headings and titles, and EB Garamond in Italics for accents and highlighted phrases.
This mix of serif and sans serif fonts works well for me, as it feels contemporary and sophisticated, while a bit cheerful at the same time. Also, each of these fonts is free! Which of course doesn’t hurt when I’m DIYing the branding and website already…

And finally, I re-examined my logo. I still liked the A-N combination, but it felt like it needed a bit of something extra to feel more in line with this new vision for the brand. So I decided to rethink it and incorporate a few of the new colors.
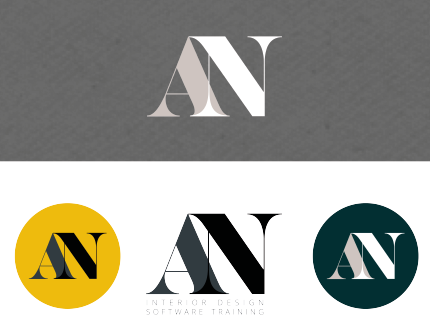
But you know what, my initials don’t actually describe the website as accurately as they probably should for a primary logo. So I then made my initials into more secondary logos, and made this primary logo with my full name in Photoshop.* I got to use the new brand colors, keep the Butler font, and have a logo that could be on every page of the site to describe the brand and the vibe it aspires to exude.

Join me for Part 2 of this series when I get into the actual re-making of the website, using Elementor*!