How to Make a Mood Board in InDesign in 10 Minutes
Mood boards are such an incredible communication tool for designers. There used across multiple creative industries including interior designers. They’re also really easy to make if you have the right tools and systems in place.
First of all, it’s important that mood boards are differentiated from things like concept boards and furniture boards. Mood boards are intended to showcase the mood of a project, they’re not intended to showcase things like furnishings and specific interiors. They can certainly show things like interior spaces, but because these boards are created in the initial design stages, they shouldn’t show anything too specific about a design or style. The specifics of a design will come after research and conscientious design development. These mood boards, on the other hand, are developed more initially to communicate your first ideas to yourself, your colleagues, and your clients.
Making mood boards involves collecting images that help you communicate various aspects of your creative ideas.
Let’s think about some of the aspects of a project you might want to communicate:
- Mood – the way you feel
- Cheerful, playful, relaxed, comfortable, reserved, hopeful, etc.
- Atmosphere – the character or feeling of a place
- Meditative, lively, lived-in, cozy, open, light, bright, formal, informal, etc.
- Lifestyle – someone’s way of living
- Color
- Texture
In creating a mood board, you should go ahead and identify these keywords as to help you assemble relevant images that can help you communicate these aspects of your design ideas.
In finding images, make sure you focus on high quality images. Don’t consider your keywords too literally as this might make the resulting mood board gimmicky or amateur.
Also, if you plan on publishing your mood board, ensure you have proper rights to the photographs you’re using. One of my favorite resources for high quality images is Unsplash. You can find a good variety of textural and atmospheric images perfectly suitable for an interior design mood board.
When you have a good selection of images to communicate your ideas, all you have do is to compose them in a way to be your mood board. If you have templates and a workflow in place, you can create a stunning and effective mood board in InDesign in minutes. If you don’t have InDesign, yet, head on over here* to download. *This is an affiliate link meaning I’ll earn a small commission if you decided to subscribe, but it doesn’t cost you anything extra. I’ve been a Adobe Creative Cloud subscriber for years now and find I end up using InDesign for everything. I’m a big believer in Adobe InDesign.*
[elementor-template id=”11615″]
[elementor-template id=”11539″]
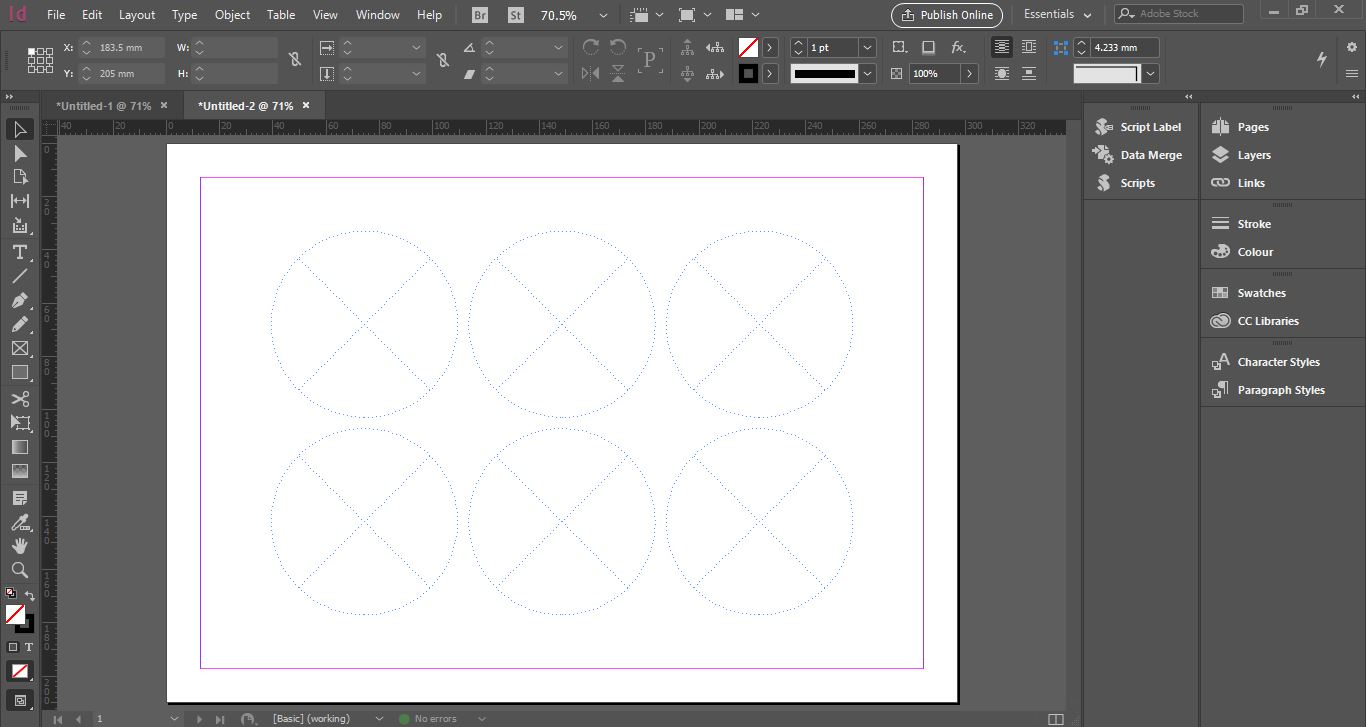
Step 1: Give yourself a good template to get started.
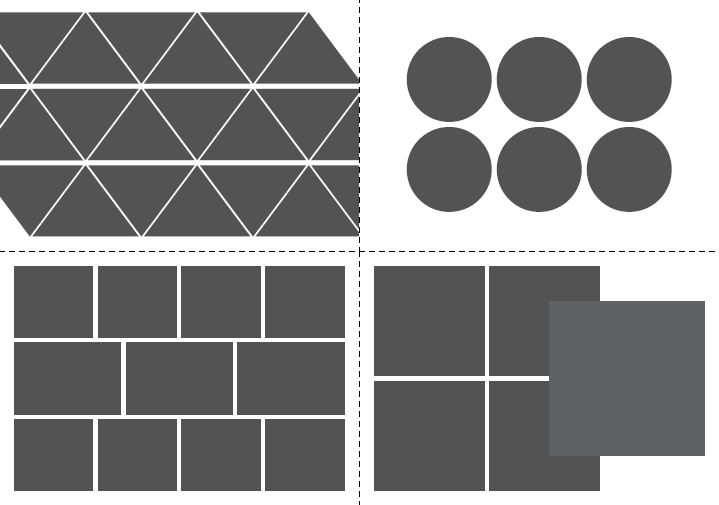
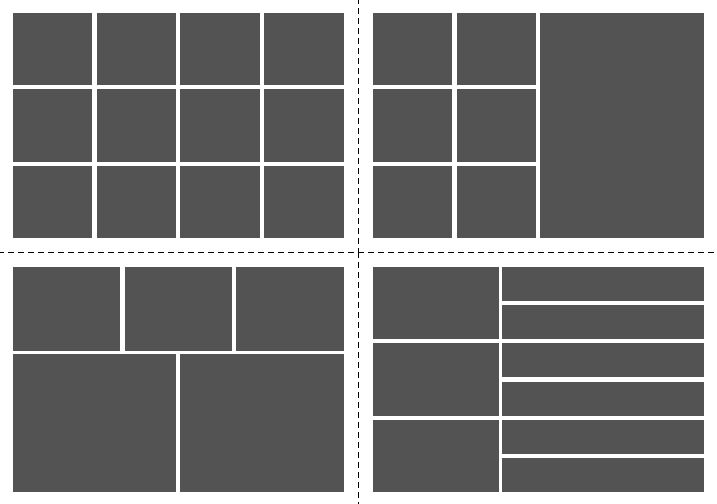
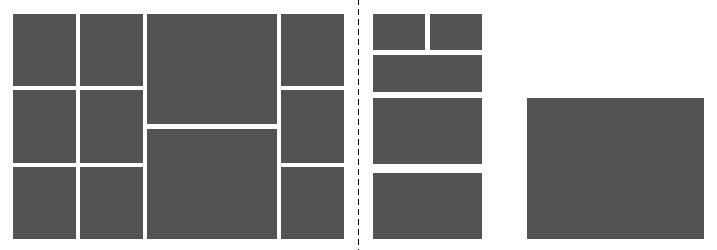
In InDesign, the best way to go about this is to create some compositions on Master Pages with various Frames. You might want to make a few grid like arrangements a few more hierarchal arrangements. Essentially, you’re giving yourself a framework in which to input your chosen images. You can choose your template layout based on the kind of design ideas you’re proposing.
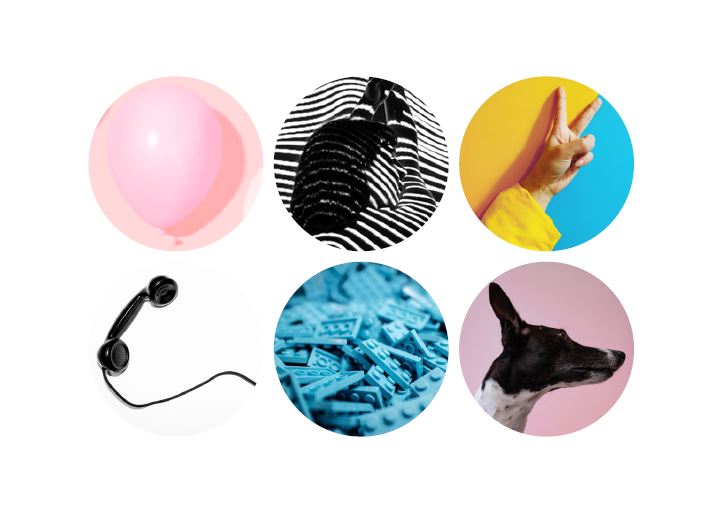
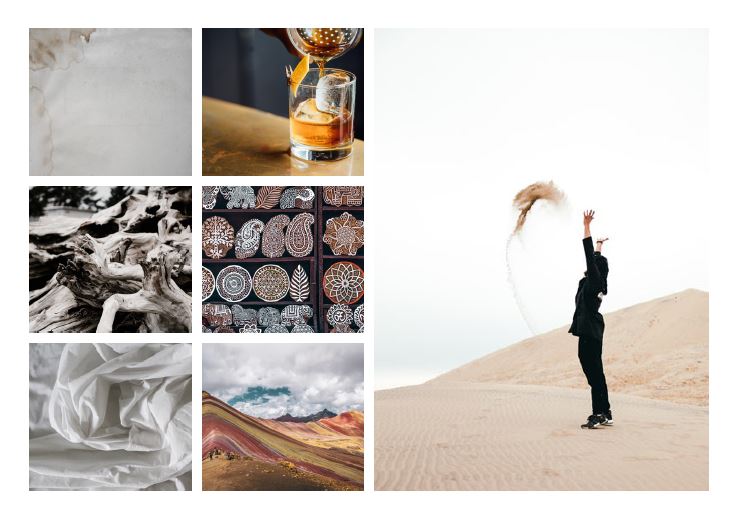
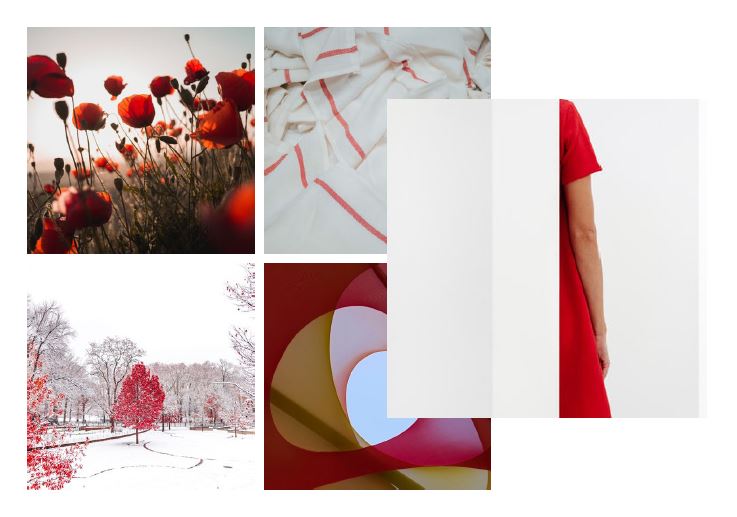
Here are the various templates you’ll find in the free download, but consider making your own too. Play with the frames and how you arrange them, just to give yourself some variety to play with when you’re tasked with making a mood board.
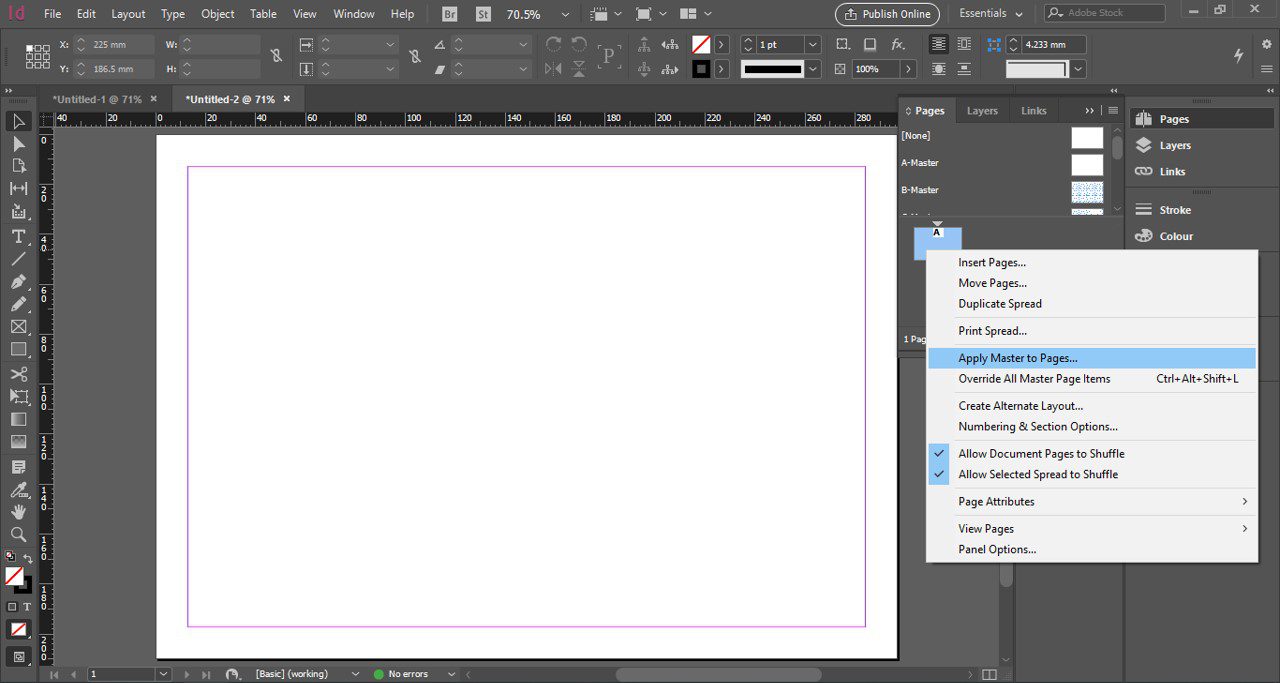
Step 2: Apply Master page template to page.
To use the template, simply open the InDesign document. Go to a blank page, then in the pages panel, right-click on the page, and select Apply master to pages. In this dialog box, you can then choose one of the masters to apply to this page. This will serve as your template.
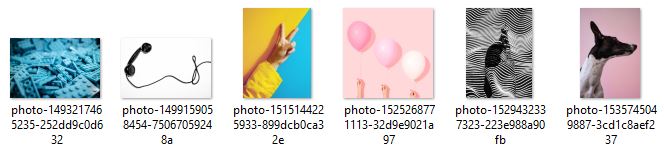
Step 3: Organize the images.
To get ready to place these images in your InDesign document, make sure they’re organized in a logical way. This can simply be all of your collected images saved in the same folder.
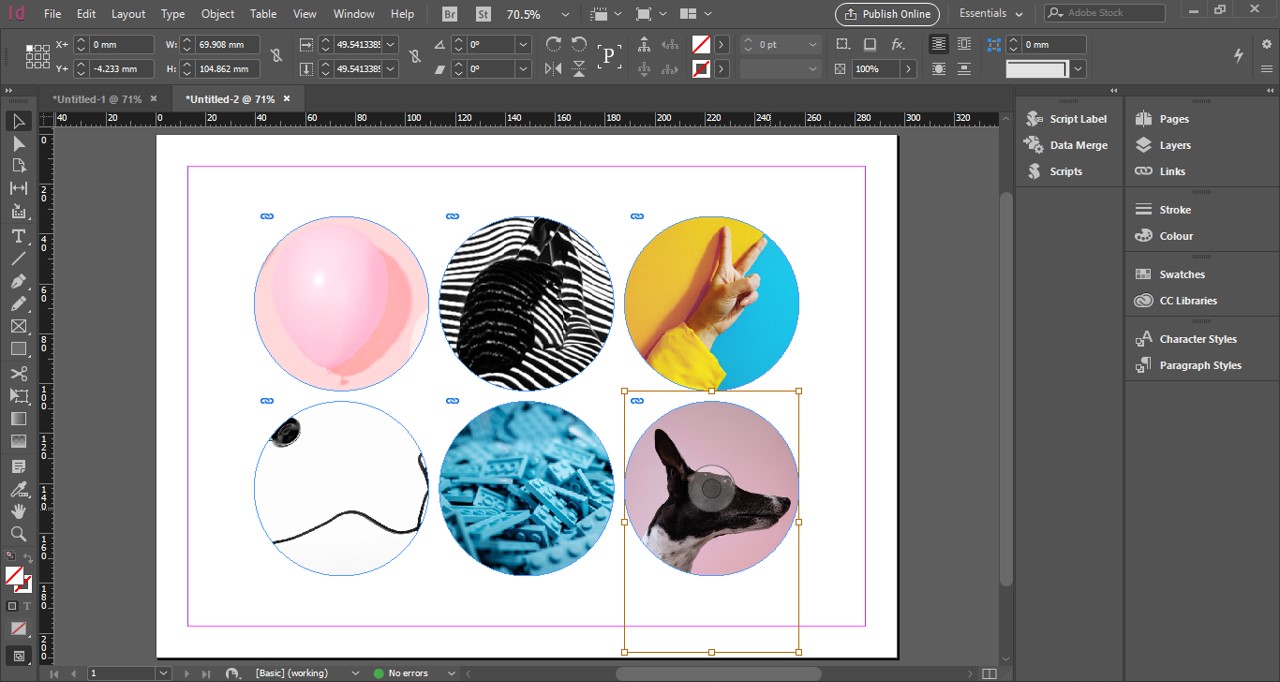
Step 4: Place the images.
To place the images, go to File then click Place (or use the shortcut key Ctrl+D for PC users, and CMD+D for Mac users), then navigate to the folder where all of your images are saved. Select all the images you want to use. You can select multiple files by either holding Ctrl or Shift for PC users.
Click Open.
Then with each image thumbnail on your cursor, click on each of your frames within the template. It’s ok if they don’t fit perfectly, there’s an easy fix for that.


Step 5: Fit images within frame.
A simple fix to make sure that all the images fit appropriately is to select the images that need refitting, then right-click and select the Fitting option, then choose Fill Frame Proportionally. This will allow the images to fill the frame while maintaining appropriate proportions.

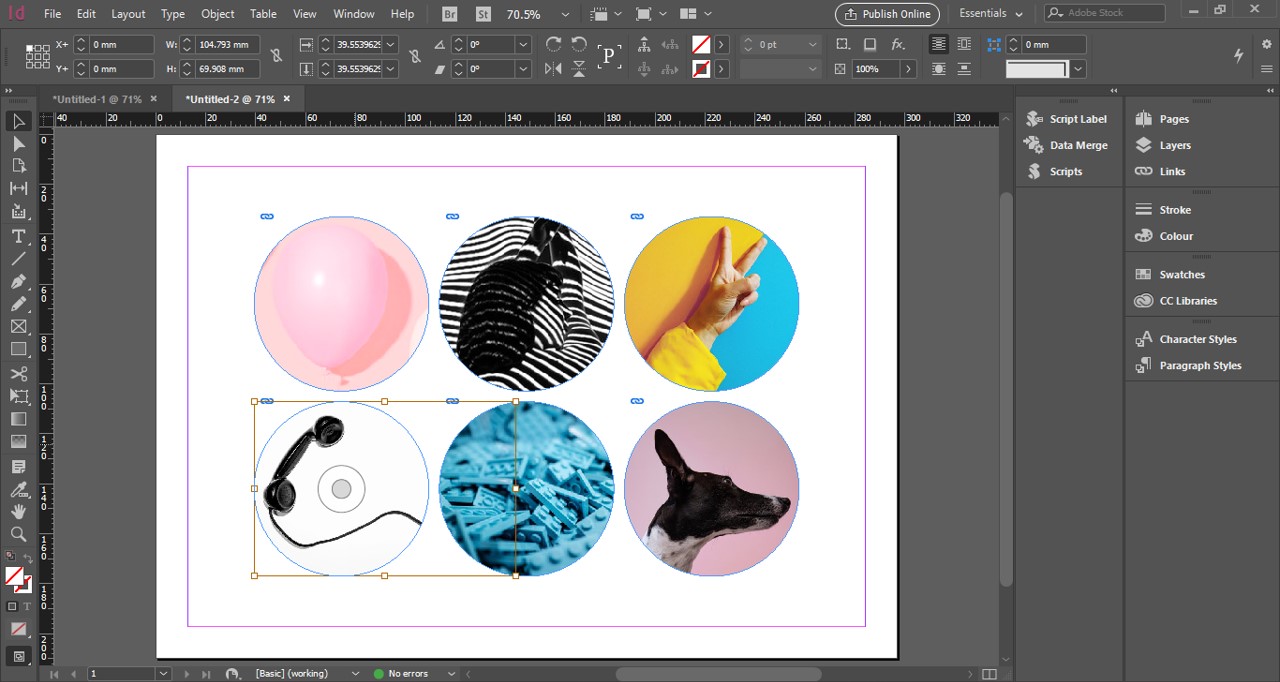
Step 6: Refocus images as necessary.
If the images aren’t focusing on the right parts of the image, you can double click the image to activate the main image frame and move it within the cropping frame.
Step 7: Export your mood board as a PDF.
When you’re finished with your board, simple export it as a PDF via the export of Adobe PDF preset options in the File menu.
As you can see, you can create beautiful and effective mood boards for your projects quickly and easily with just a few tips and workflows within in InDesign.
[elementor-template id=”11615″]
What software do you normally use for mood boards?
[elementor-template id=”11513″]