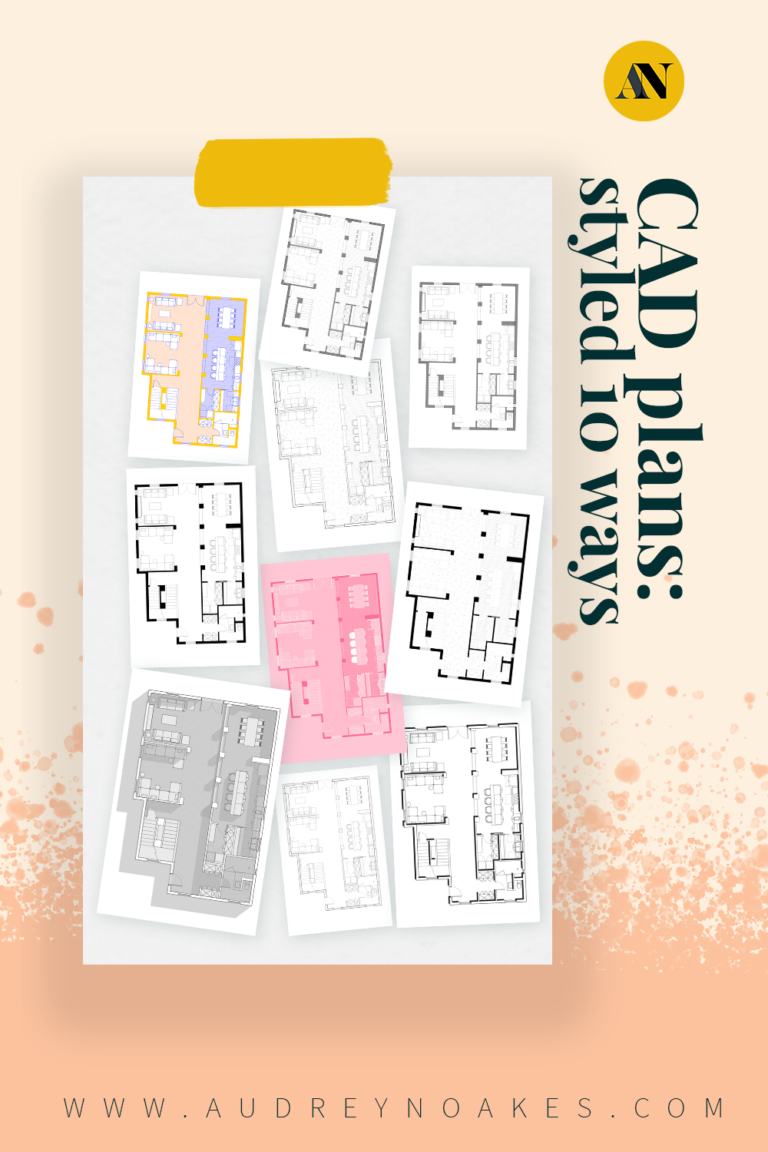
6 Reasons to start providing drawings as part of your interior design service + 6 Ways to make them easier to produce when you do
There are usually 3 categories of people when it comes to creating drawings as part of an interior design service.
- Yeah, I make drawings, but I hate how they look and they take forever.
- Do I need to make drawings as an interior designer? I will avoid them until the day I die.
- I LOVE DRAWINGS and it’s the best part of being a designer.
If you’re number 3, I’m afraid this post isn’t for you. But high-five! Me too.
For those of you who are a number 1 or number 2, don’t worry, I wasn’t always a number 3. It took me years to learn to love making drawings for design projects.
Frankly, it’s not something that comes super easy and also they took forever.
So trust me, I completely understand why you’re hesitant.
But I also wanted to say drawings don’t have to be this gargantuan chore that you dread.
They can be fun.
They can open doors.
They can allow you to be more creative.
They can really become an incredible tool if you let them, which is why I wanted to give you 6 reasons to start adding drawings to your interior design service. Then I wanted to give you 6 Quick Tips on how to make them look better and not take as long.
So, if you’re already providing drawings but don’t love it, start here.
If you aren’t providing drawings and really don’t want to , start here.
Why should you start adding drawings to your interior design services?
1. Without drawings, you’re limited in what you can do as a designer.
Scaled, professionally presented drawings mean you have an expanded language in how you communicate your designs.
Collages, sketches, and app-produced presentations can certainly be helpful, but they only get you so far.
When you need to explain a precise layout or construction, drawings are your tool.
This extra level of information provided in drawings is needed to take on these bigger projects like whole house remodels, hotels, restaurants, cafes, etc. Without them, the projects will almost always be more decorative. Interior design is so much more than paint color and throw pillows. Don’t limit yourself or the profession by not expanding on what you offer as a professional.
*Now I know, I know what some of you are saying.
Audrey, I can outsource my drawings, so I’m not at all limited in this way.
Outsourcing or delegating drawings to other staff members is absolutely a great way to save yourself some time.
But I’m of the opinion that even if you’re outsourcing you need to have these fundamental skills yourself. You need to be able to communicate in this drawings language where you have that extra level of control on how your design is explained to contractors, clients, and colleagues.
2. Drawings help you get taken more seriously as a professional in the industry.
I’ll admit it the design industry can be a bit snobby at times. This is both fellow designers, other design professionals, and contractors alike. Get a bunch of opinionated, creative people all together, they can get a little judgy.
It’s not a pretty part of this industry, but it is a reality.
Adding drawings to your repertoire is just one way you can get taken more seriously in this industry.
For contractors, an excellent set of drawings can communicate that you know what you’re doing, what the project needs, and exactly how he or she should go about it.
Informal explanations or inspiration images almost never gets taken with the same level of respect. (Nor is the design communicated clearly in this way!)
For fellow designers and other professionals, an excellent set of drawings means you know what you’re doing, you know what they’re doing, and you can work with them effectively.
Architects and engineers work via drawings as a priority, so a fellow professional who doesn’t speak or use that ‘language’ is really hard to fathom. Being able to provide drawings as part of your work means you’re on the team with a seat at the table.
Being able to provide drawings as part of your work means you’re on the team with a seat at the table.
3. Drawings mean your ideas can be communicated with precision to those implementing them.
Imagine you’ve been handed a dream project.
Imagine they’re a creative client who trusts you, your process, and your vision.
Imagine they have a budget that equates to ‘no budget’.
AND they’ve got plenty of time to give you to make this design a reality.
You’re suddenly in a position that means you can create a whole bunch of custom designs while also using the best materials and craftspeople.
What a dream.
But how do you communicate all of those custom designs? How will these master builders, contractors, etc. know what you want to have made to complete this dream project.
Drawings. Drawings are your tools here.
If you don’t develop your skills in drawing now, it may be that in the future you won’t be able to say yes, when your dream project lands at your door.
4. Drawings mean your ideas can be tested and evaluated to ensure they’re the best use of space for a project.
From a purely practical standpoint, drawings are the best way to test and evaluate ideas in space. There’s a reason that the principles of plan drawings, elevation drawings, and section drawings have been around for millenia.
It’s quite frankly an amazing and effective way of documenting three-dimensional space in a 2D format. Documenting it in 2D means you can quickly test initial ideas, rough ideas, more refined ideas and so on within these 2D drawings.
You don’t have to create a full-blown 3D model or intensely detailed perspective drawing everytime you want to visualize how something might fit or feel in space.
Nor do you have to go back into the space with your tape measure every time you want to check to see if the idea works in this space you’ve already measured…
Instead, you do the quicker but just as effective 2D drawings that help you test these ideas and make these judgments, efficiently and with accuracy.
5. Drawings mean you can take on projects that are a bit grander and a bit more complex – and get paid for it.
Being an interior designer can be so rewarding, but it can also be hard to get paid what your work is worth.
A designer who is a bit limited in the kind of projects they can take on will have a much harder time earning a living.
A living room here, a bathroom reno there. It’s a lot of hard work and it doesn’t always have that financial benefits that warrant that time.
Providing drawings means you have that larger scope in terms of what you can communicate and who you can communicate with when it comes to a design project.
This means you’re no longer stuck with only working on small projects that don’t pay you enough. You can take on bigger projects that have a larger payscale or larger profit margin.
It’s a win-win in my book because a lot of times this means you get to work on projects that are more fun and more profitable.
…you get to work on projects that are more fun and more profitable.
[elementor-template id=”13556″]
6. Drawings can help you standout from the amateurs.
You know when I said the design industry can be a bit snobby at times?
Interior design especially suffers from a huge range of practitioners with the same title but without the same skillset.
While some states (and countries) have rules on who can call themselves an interior designer and advertise interior design services. There’s a whole host of states and countries that have no such rules.
There are professional exams and organizations that can help improve your standing as a professional in the design community. However, these take time and money and require specific training/education.
(If you haven’t already, I absolutely recommend pursuing higher education in interior design and/or joining your local professional network! GIving yourself space to learn and grow is a key part of developing as a designer).
In the meantime though, there’s often a pretty good mark between a true professional and amateur (who may have watched a bit too much HGTV – we’re all a little guilty of this).
And that’s drawings.
Professional, accurate, and well-presented drawings show you’re educated and informed as a professional designer, even if you don’t have registration yet or a degree to fall back on.
I’ll also say I know plenty of people who earn their degree but still have to learn and hone their drawing skills to get them to that professional level.
That’s ok!
But getting them to that professional level should be a big goal because it lets you stand out and stand up in a big way you just can’t without drawings.
How can I make professional drawings that look great and are quick to produce?
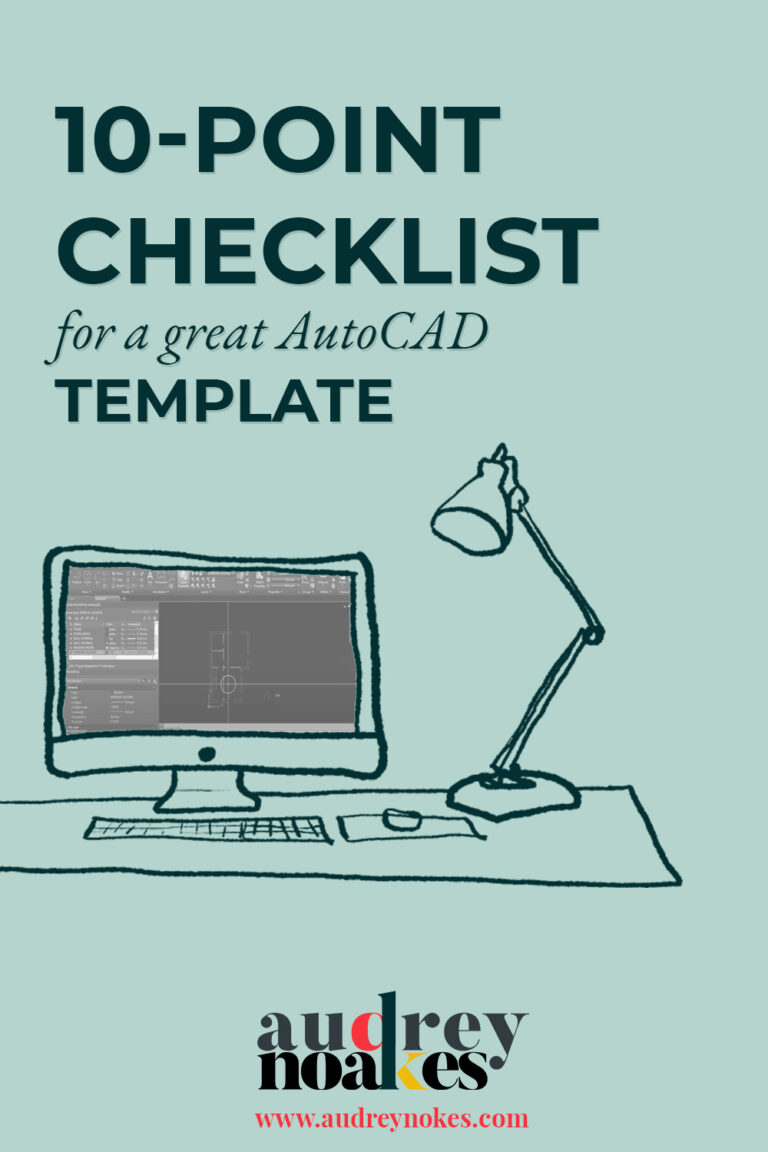
1. Use a widely known software.
First things, first. Use a widely known and professional grade software program to create your drawings.
I’m obviously partial to AutoCAD LT because I think it’s at a good price point, great for collaboration, and effective in developing transferable CAD skills, but there are certainly others.
I love Revit too – for the more BIM side of producing technical drawings.
Vectorworks, Chief Architect, and ArchiCAD are others that are good programs to use. I’ve even seen some savvy Sketchup Pro users get some great drawings from Layout.
What I don’t suggest you try is an obscure software or app that you’ve never heard of but it promises it can help you create plans and elevations. Yes, it might be cheaper in the short term, but it will likely not help you very much in the long run.
Why?
- A well-known program will have a lot of online and offline resources to help you understand how to use it.
- A well-known program will have the precision and professional tools you need to produce professional interior design drawings. (These aren’t drawings for a real estate listing! Interior design drawings are and should be very different)
- A well-known program will give you the ability to collaborate with others. Exporting as different file types or being able to import different file types means you can work on drawings that others have worked on or will be working on too. (This is why I love a .dwg! It’s an almost universal CAD file type).
2. Become a drawings junkie.
You’re never going to get good at drawings if you don’t become someone who looks at, analyses, and absorbs the lessons to be learned in the drawings of others.
This is why I always recommend designers, both new and those more experienced to have a folder, set of bookmarks, Pinterest board, or any other repository to collect any examples of interior design drawings that are informative to you.
You can collect good examples of drawings and bad examples of drawings. Both the good and the bad can be really informative and help you think about how you want to create, present, and communicate your design ideas via drawings.
You can find example drawings almost anywhere. Pinterest, Google, Books, ArchDaily, Dezeen, blogs, etc.
Become a student of drawings and you’ll become an expert of drawings.
(^ I promise I didn’t mean that to sound so Yoda-esque or Karate Kid-esque).
3. Develop a workflow and checklist for your own process.
Once you develop the raw skills, you’ll want to hone those by developing a workable and efficient workflow for how you use these skills to create the drawings that will be so helpful in communicating your design ideas.
So how do you make a good drawings workflow? I have a new resource in the works for this subject (want to be the first to know when it goes live?), but to give a starting point:
- Determine the specific type of drawing you want to create.
- Outline the key steps/tasks you’ll need to complete this drawing.
- Outline the key information you’ll need to collect in creating this drawing.
- Overlay both the key steps and key information to determine a sequence for both the steps and information.
- Identify if there any steps that are redundant or going to create tricky spots in the workflow. Eliminate the redundant steps, and write some best practices cheatsheets when you run into a trick spot.
- Identify which steps and information are critical to the workflow, which ones are ideal but not crucial, and which ones are just extra. Eliminate anything that’s extra.
- Now with this sequence of steps and information, the categorization of these steps and information, and cheatsheets for running into problems, you’ve got yourself the basic outlines of a good drawings workflow.
As a follow-up to creating your workflow, I recommend creating a more specific checklist.
While workflows help you record and systematize a process, a checklist gives you a specific list of things to remember or check.
The recording of these things is what’s so important here. These are things you probably already know.
But without a checklist you’re risking your work. This is because memories can be unreliable (Don’t trust your internal checklist!), people can have different understandings and internal checklists, and if you’re pushed for time, like designers always are, your risks of forgetting or misunderstanding are at an all time high.
4. Develop a template or set of templates for yourself.
I, of course, had to get this in here, but once you’ve got those fundamental skills, honed them with a good workflow and checklist, now’s the time to give yourself a great template to make the process even more efficient.
I love templates. Is that not obvious?
Taking the time to design a template that works for you and your process or investing in template that works for you and your process means all the advantages you gain from working within a workflow and to a checklist are doubled.
This means those drawings that looked bad and took forever are beautiful and efficiently produced.
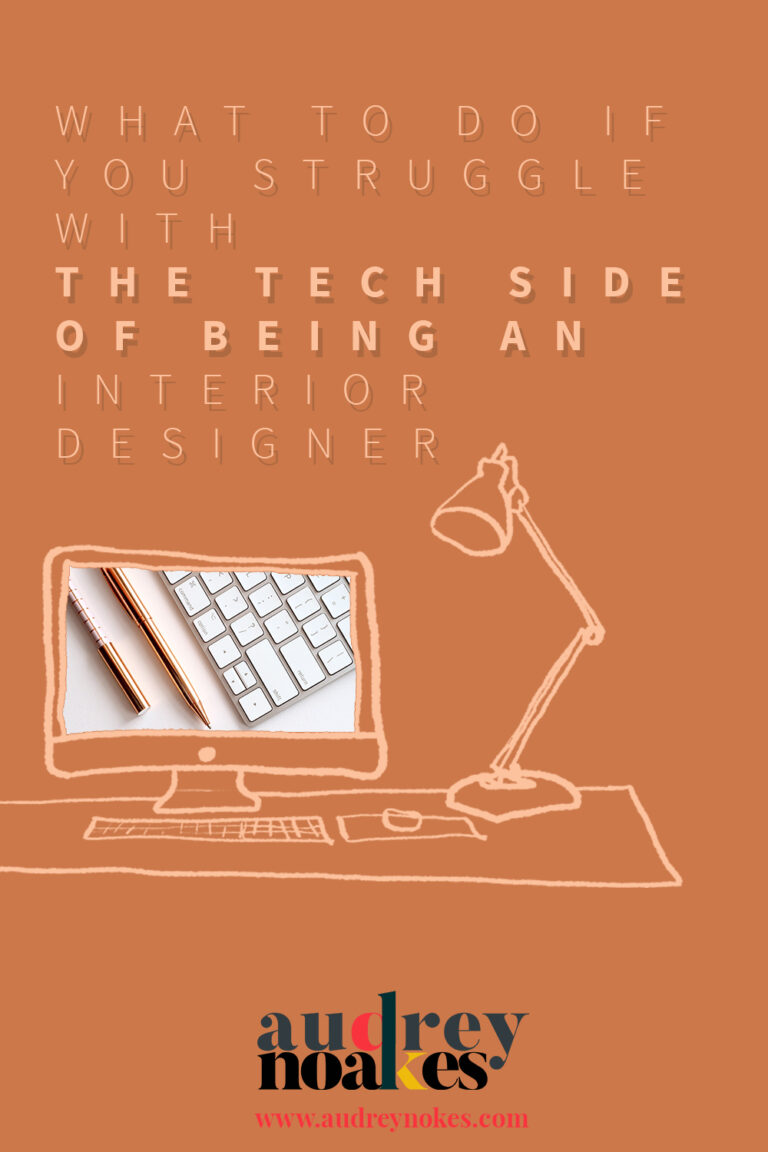
5. Use the right equipment.
Something I’m often asked by prospective students is what kind of computer or equipment they should get.
Personally, I use PC/Windows computers (but I’ll be damned if you try to take away my iPhone). I think they have a good price point and they work really well with a number of CAD and design software.
Macs are certainly beautiful, reliable, and good with certain design software, but I found that they don’t always work great with every CAD software. (They don’t even make a version of Revit for Mac).
Plus they’re on the pricey side, so I think often you can get the most bang for your buck with a PC machine.
No matter the operating system though, it will be good to have some solid specs on the machine. That means having a good amount of RAM and having a good graphics card.
Both funnily and annoyingly, often gaming computers are great for design software because they need similar power. However, I can’t get over having computers with bizarre red or green lights coming out of it…
Besides the computer, my number one equipment advice is to use a scroll-wheel mouse. Your fingertips will thank you, and your efficiency will thank you. These programs were designed to be used with mice (mouses?), so you’ll just work more efficiently when you have a cheap dinky scroll-wheel mouse rather than anything fancy.
6. Present the drawings with polish.
Lastly, just make sure you take some time to present your drawings with care and polish. If you spend time making a drawing, you shouldn’t spend no time presenting it. Using tidy title blocks and paying attention to line weights and annotations will mean the hard work of the drawing will pay off because it’s all easy to look at and understand.
All that to say, there shouldn’t be anything stopping you from not only making these drawings for your interior designs, but making them great and efficiently.