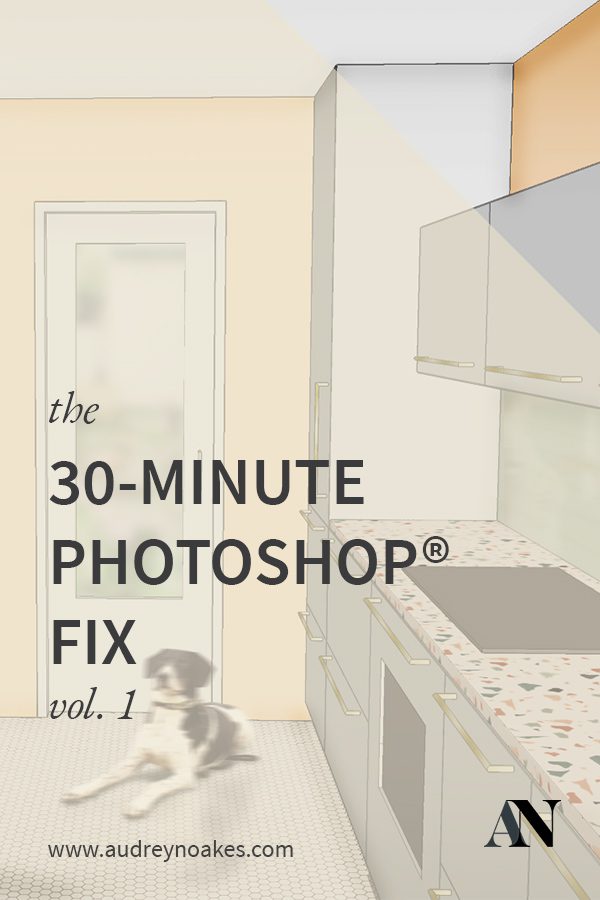
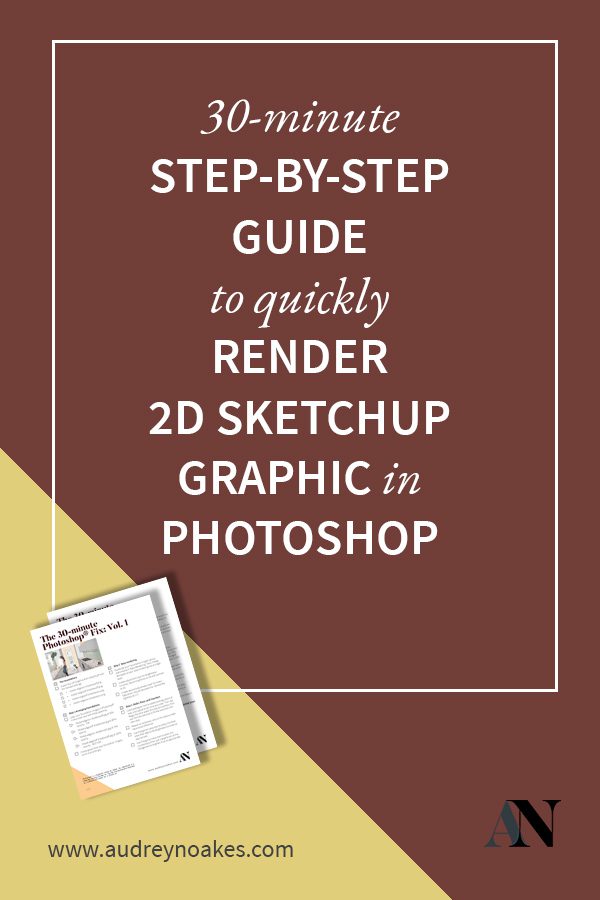
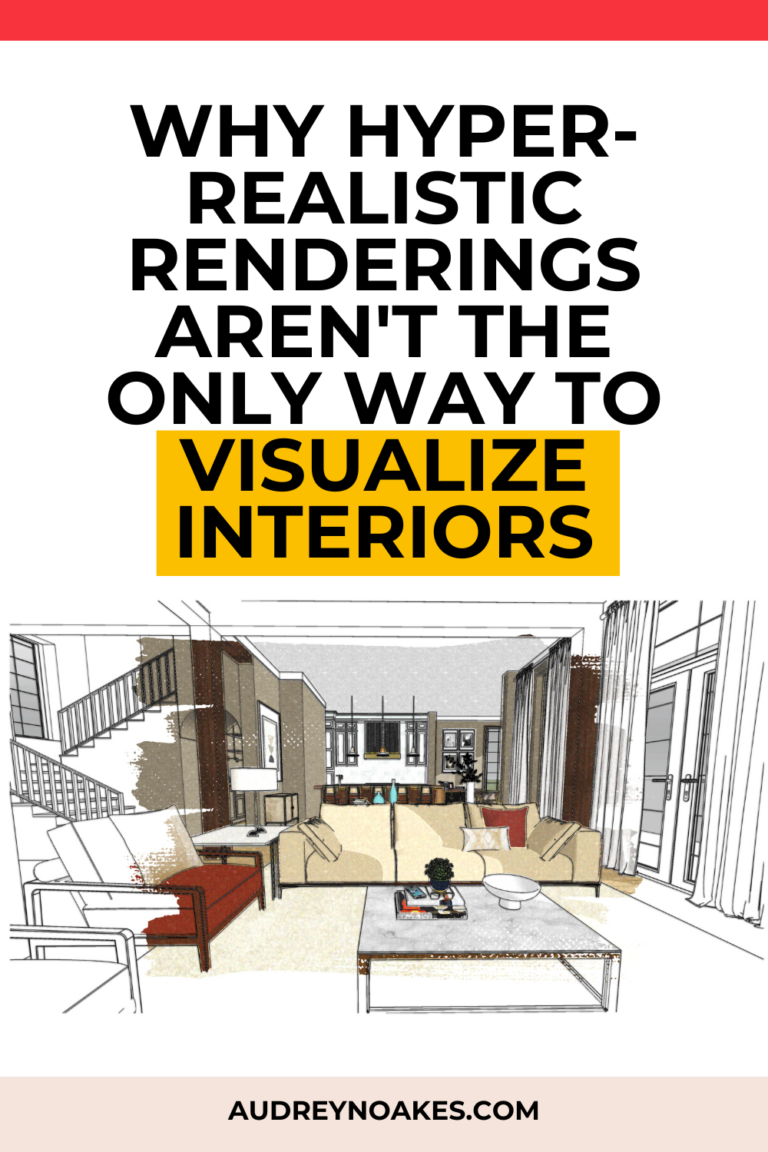
The 30-minute Photoshop® Fix: Vol. 1
Now, I preface this tutorial with the fact that it might not take you 30 minutes the first time. The idea is though if you know the quick solutions you can develop into the whiz who can crank out some quick and pretty renderings quickly. While in a perfect world, you’d likely want to run your model through a renderer and spend some time polishing it with detail to get it exactly how you want. Perfect worlds don’t often mix with tight deadlines and pushed forward meetings. This tutorial fix is intended to show you how you can take a fairly basic SketchUp model and make it reasonably presentable to a client if you’re short on time.
This tutorial is intended for those with a working knowledge of both Photoshop® and SketchUp®. You may not consider yourself an expert, but you can get by with each program.
So what are we going to do today?
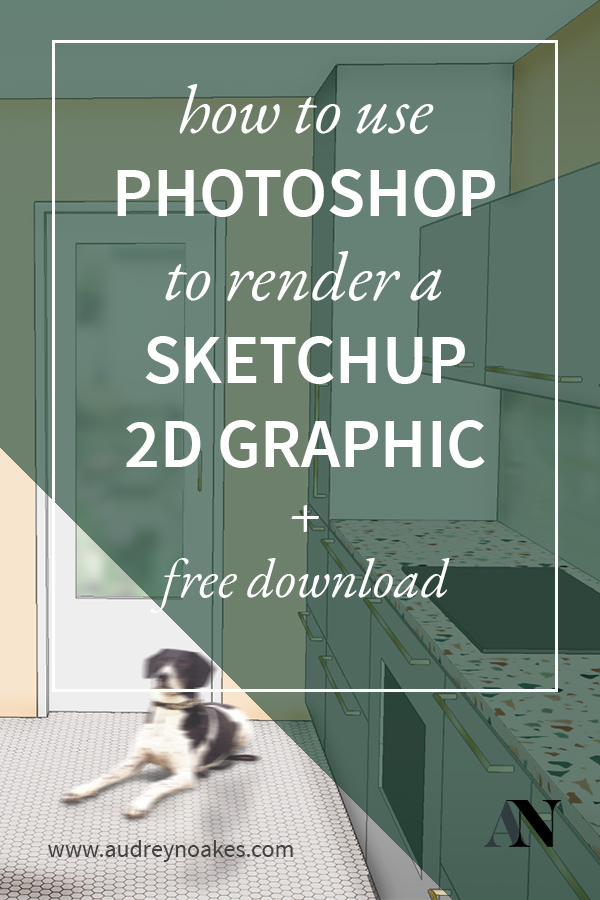
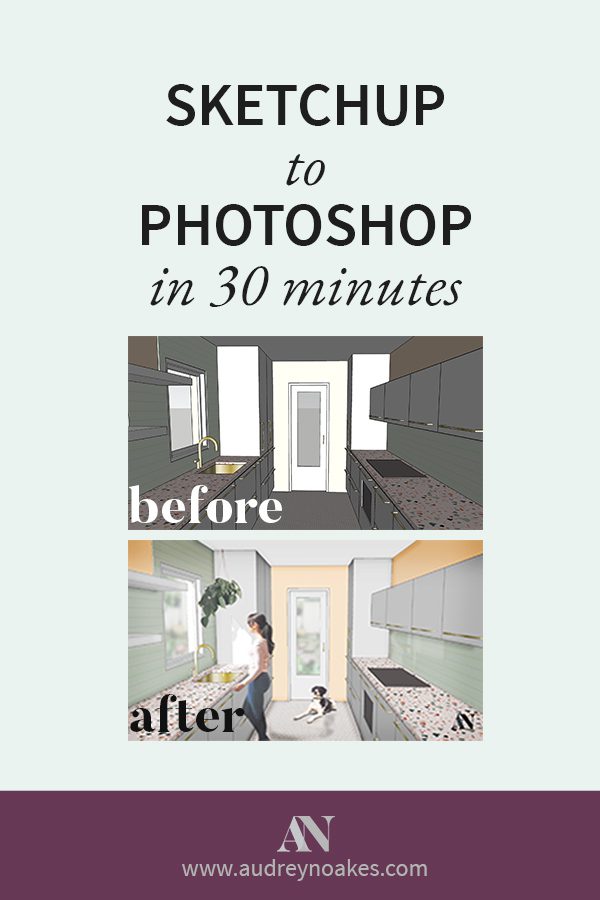
We’re going to take this dark and soulless kitchen design and make it into the lighter and livelier version we’ve designed with just Photoshop.
[elementor-template id=”11628″]
The Foundations – 05:00
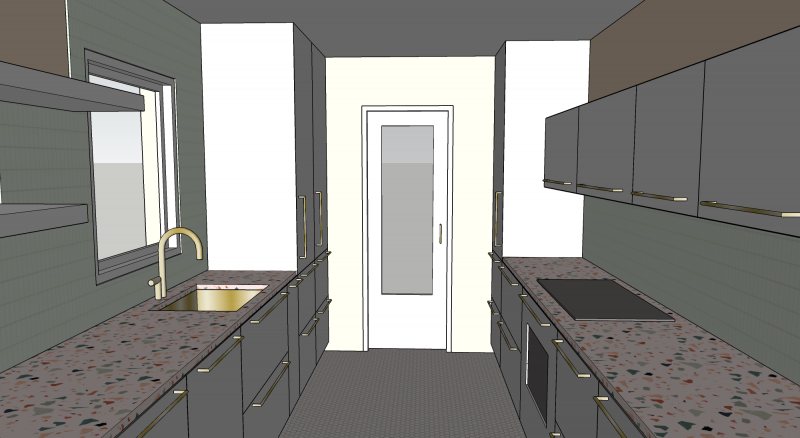
First, you need to find yourself a good view within SketchUp. Utilise the Place Camera tool and the Field of View tool to make sure the view is showing a good angle of your design. In this case, I’ve chosen what is essentially a 1-point perspective view down this cozy, galley style kitchen. Go ahead and save this view as a scene. To take this view into Photoshop, you’re going to need to save 4 versions of the same images.
- The first image you’ll export as a 2D graphic is the as-is image, with edges turned on and shadows turned off. Save this image in the relevant folder as model-edgeson-shadowsoff.png. Ensure the resolution of the images is fairly high. Don’t use ‘view size’. Instead, in the export options, make sure you image size is at least 2000 pixels wide.
- Your next 2D graphic will be the same view, but this time you’re going to turn off any edges or profiles. Save this image in the relevant folder as model-edgesoff-shadowsoff.png.
- Your next 2D graphic will be the same view, but this time you’re going to keep the edges off and turn the shadows on. You might need to adjust the time of day and time of year to make the shadows fall in a good place for your renderings. Save this image in the relevant folder as model-edgesoff-shadowson.png
- The last 2D graphic you’ll export is again the same view, but this time you’re going to keep the shadows on and turn the edges on. Save this image in the relevant folder as model-edgeson-shadowson.png
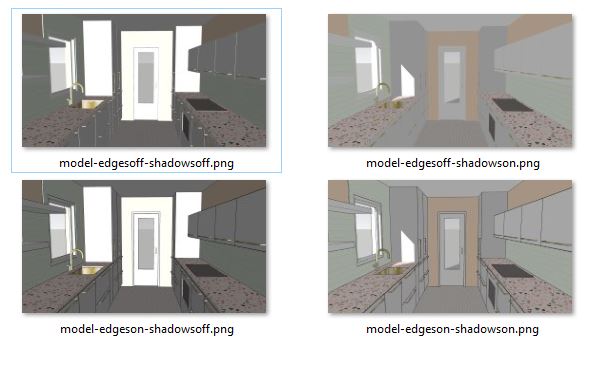
You will then layer these images in Photoshop with varying degrees of opacity to get the best of all 4 SketchUp worlds.
[elementor-template id=”11503″]
Step 1 – 08:00
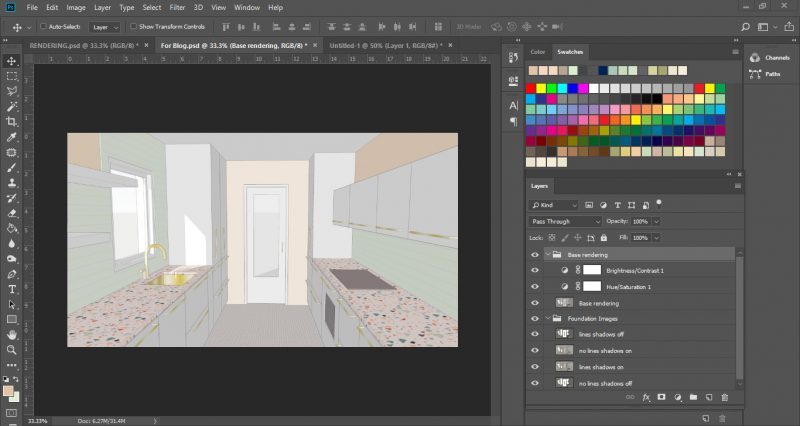
Layer your foundation images.
Open your model-edgesoff-shadowsoff.jpg first. Layer it from the Background and make sure the layer has a suitable name. Go ahead and save this as a working PSD file.
Next, Place Embedded your other three files in this order: 1. model-edgeson-shadowson.jpg 2. model-edgesoff-shadowson.jpg and 3. Model-edgeson-shadowsoff.jpg.
Now, with each of these layered images in place (make sure they’re layered at the same size and perfectly aligned on top of each other), you’ll then be able to adjust the opacity of each layer.
The opacities of the layers in this image are:
- Model-edgeson-shadowsoff.jpg at 30% opacity – TOP
- Model-edgesoff-shadowson.jpg at 80 % opacity
- Model-edgeson-shadowson.jpg at 75% opacity
- Model-edgesoff-shadowsoff.jpg at 100% opacity – BOTTOM

You may want to play with the opacities until they look good to you, but these are the numbers that worked well for this image. With these opacities adjusted, go ahead and make a group of these layers called ‘Foundation Images’ this way we can go back to them if we need to.
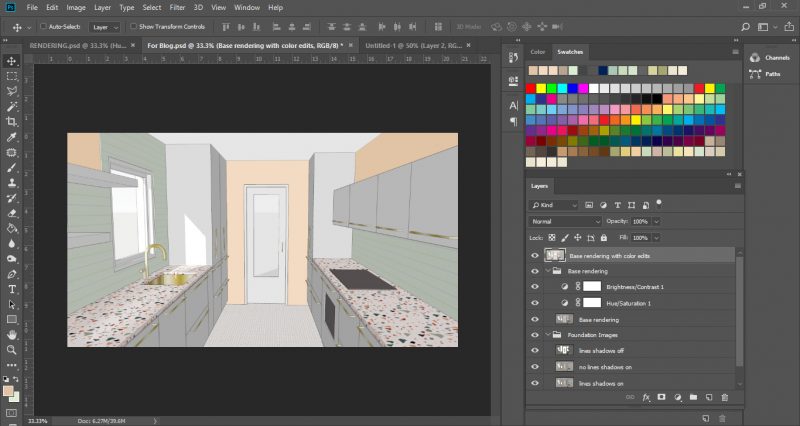
Step 2 – 10:00
Duplicate your Foundation Images’ group, and rename it ‘Base Rendering’. Now, merge the layers of your base rendering into a single layer. This will be the layer we play with.
Firstly, go ahead make a new adjustment layer for brightness and contrast. For this rendering, I adjusted the brightness to 34 and the contrast to 35. But play around to see what looks good for your rendering.
Secondly, make another new adjustment layer, this time for hue and saturation. For this rendering, I adjusted the saturation to +30 and the lightness to +17.
Now you’re ready to edit individual surfaces.
Step 3 – 15:00
For this rendering, the wall color was not appearing accurate. So with the eye dropper tool, I selected the existing color of that back wall. I take that color and adjust it to be more accurate. It won’t be the perfect CYMK numbers of your color because of the lighting effects of the space, but you should be able to get fairly close. Then I used the magic wand tool to select the back wall. Then I use the paint bucket tool to fill in the selection with the new color. It should now appear a bit more vivid and a bit more accurate.
I repeated this process to the side walls too. While tonally, they’ll still appear different from the back wall, I can still bump of the vividness of the hue to make it more true to the design.
I also used the Polygonal Lasso tool to select the floor as well. I selected all of the flooring and then used the Brightness/Contrast adjustment to make it just a bit brighter.
For the countertops, I used the Polygonal Lasso tool again to select the countertops. This time with the countertops selected, I used the Dodge tool to brighten them up. The Dodge tool allows for the countertops to be brightened without losing the contrast in the pattern of the countertop.
Step 4 – 17:00
Next, I’ve made some adjustments to the tile backsplash. In the basic image, it appears pretty flat, when our design calls for high gloss tiles. This is a pretty easy effect to fake. Let’s start with the tiles on the side of the stove top.
First, I duplicated the overall base rendering with all the color adjustments. Next, I lowered the opacity of the duplicated layer to 18%. Then, I transformed this duplicated layer and Flipped Horizontal. This way the mirrored-version of the space is showing faintly on top of your base rendering.
The mirrored-version of the space only needs to appear on the area of the tile back splash though. So, I used the Polygonal Lasso tool to select just the backsplash area. I then go to the Select menu and click Inverse. Now with the mirrored-version layer selected, I pressed the delete key. This left me with just the mirrored version on the tiles.
Now tiles would rarely reflect a space perfectly. So we really need to blur this reflection. In the Filter menu, I went to Blur and choose Gaussian blur. I played with the slider and ended up blurring it at about 6 pixels. Now the reflection should appear somewhat realistic to represent some glossy tiles.

We can repeat this process on the other side of the kitchen.
Step 5 – 24:00
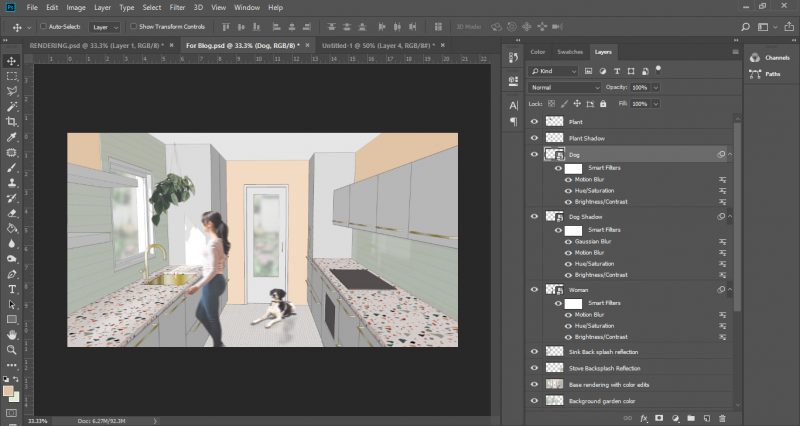
Next, let’s add some entourage to the design.
Firstly, I made sure the windows show something on the outside. To do this, I use the Polygonal Lasso tool to select the opening of the windows and delete them. Then I downloaded a good image to be the view outside. I’m a big fan of the pictures on Unsplash. I searched for a good image of a back garden. I then placed that image into the Photoshop file, behind the layer of the base rendering with the windows cut out.
Now, in interiors photography, the view out the window will never be in perfect focus, unless that’s the focus of the photo. In this case, I wanted more attention to be paid to the design, so I edit the garden image. First, I went to Hue/Saturation and bumped up the lightness of the image, approximately +20. Then I went and added the Gaussian blur to the image, at around 8 pixels. This way the background image just fades away and doesn’t distract from the design.
Next, I add a plant for décor and a woman and a dog for liveliness. I download the plant from Unsplash, but this time the woman and the dog I downloaded from Mr. Cutout. With this website you can download good to go PNG files for your renderings.
For each of these pieces of entourage, I did 4 things.
- Played with their saturation to make there colors aligned with the colors of the rendering (via Hue/Saturation)
- Made sure I added a shadow where relevant. To this, I simply duplicated the layer of the ‘object’, then darken it via the lightness scale in Hue/Saturation, then add a Gaussian blur to the degree that looks appropriate, and bump the opacity down significantly.
- Made sure I added reflection where relevant. The dog in this case was on the tile floor that I wanted to have some sheen to it. So to create his reflection, I simply duplicated the layer, blurred it a lot and lowered its opacity, and transformed it to go straight down. Now he has very faint reflection on the floor.
- Made sure I added a motion blur to the living things. This is another technique to make sure the entourage doesn’t take away from the design of your space. I added a motion blur to the dog and the woman at around 10 pixels.
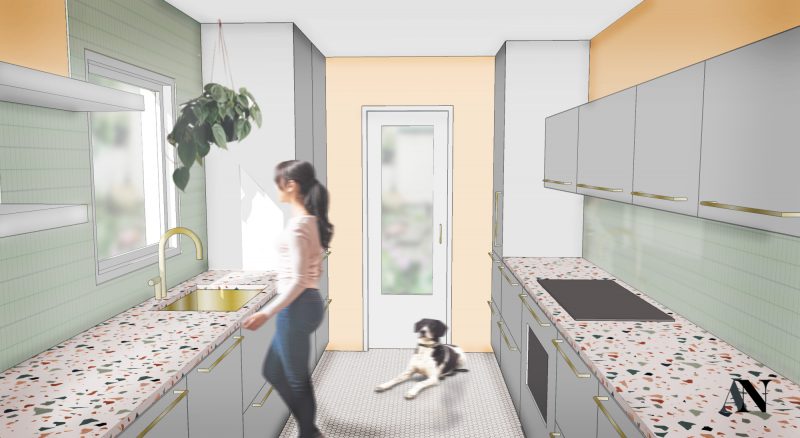
Step 6 – 30:00
This is the final step in which I added the final polish to the rendering. First, I grouped all of my existing layers that were on top of the base rendering together with the base rendering. I then duplicated this group (where I can go back to it just in case). With the duplicated group, I merged those layers together. Now, I have a single image I can edit and polish.
First, I played with the Brightness/Contrast just to see if I can make it a little more vivid.
Then, I bumped the Saturation up, +5, just to give it a little bit more color.
Lastly, I took the Dodge tool and added various highlights and the Burn tool to add various shading. It’s a small detail that adds a bit more depth and tone to the rendering. In this case, the Dodge tool was set to 72 size, midtones, and 50% exposure. The Burn tool was set to 50 size, midtones, and 50% exposure. I traced along the edges of the space and where likely highlights and shadows would occur. I held down the shift key between clicked points to use the tool in a straight line.
And with that, I have a finished rendering. While it’s not perfect or hyper-realistic by any stretch of the imagination, it is better than a screenshot of the basic model. It’s giving a more realistic and easier to understand visualisation of the design. It’s well worth the extra 30 minutes (or less) when you need something client-ready quickly.
[elementor-template id=”11628″]
What kind of 30 minute fixes are you having to figure out. Is there something you wish you knew how to do quicker?
Until next time,
Audrey
Photoshop® is a trademark owned by Adobe, Inc. SketchUp® is a trademark owned by Trimble, Inc. This site is not sponsored or endorsed by, or affiliated with, Adobe, Inc. or Trimble, Inc.